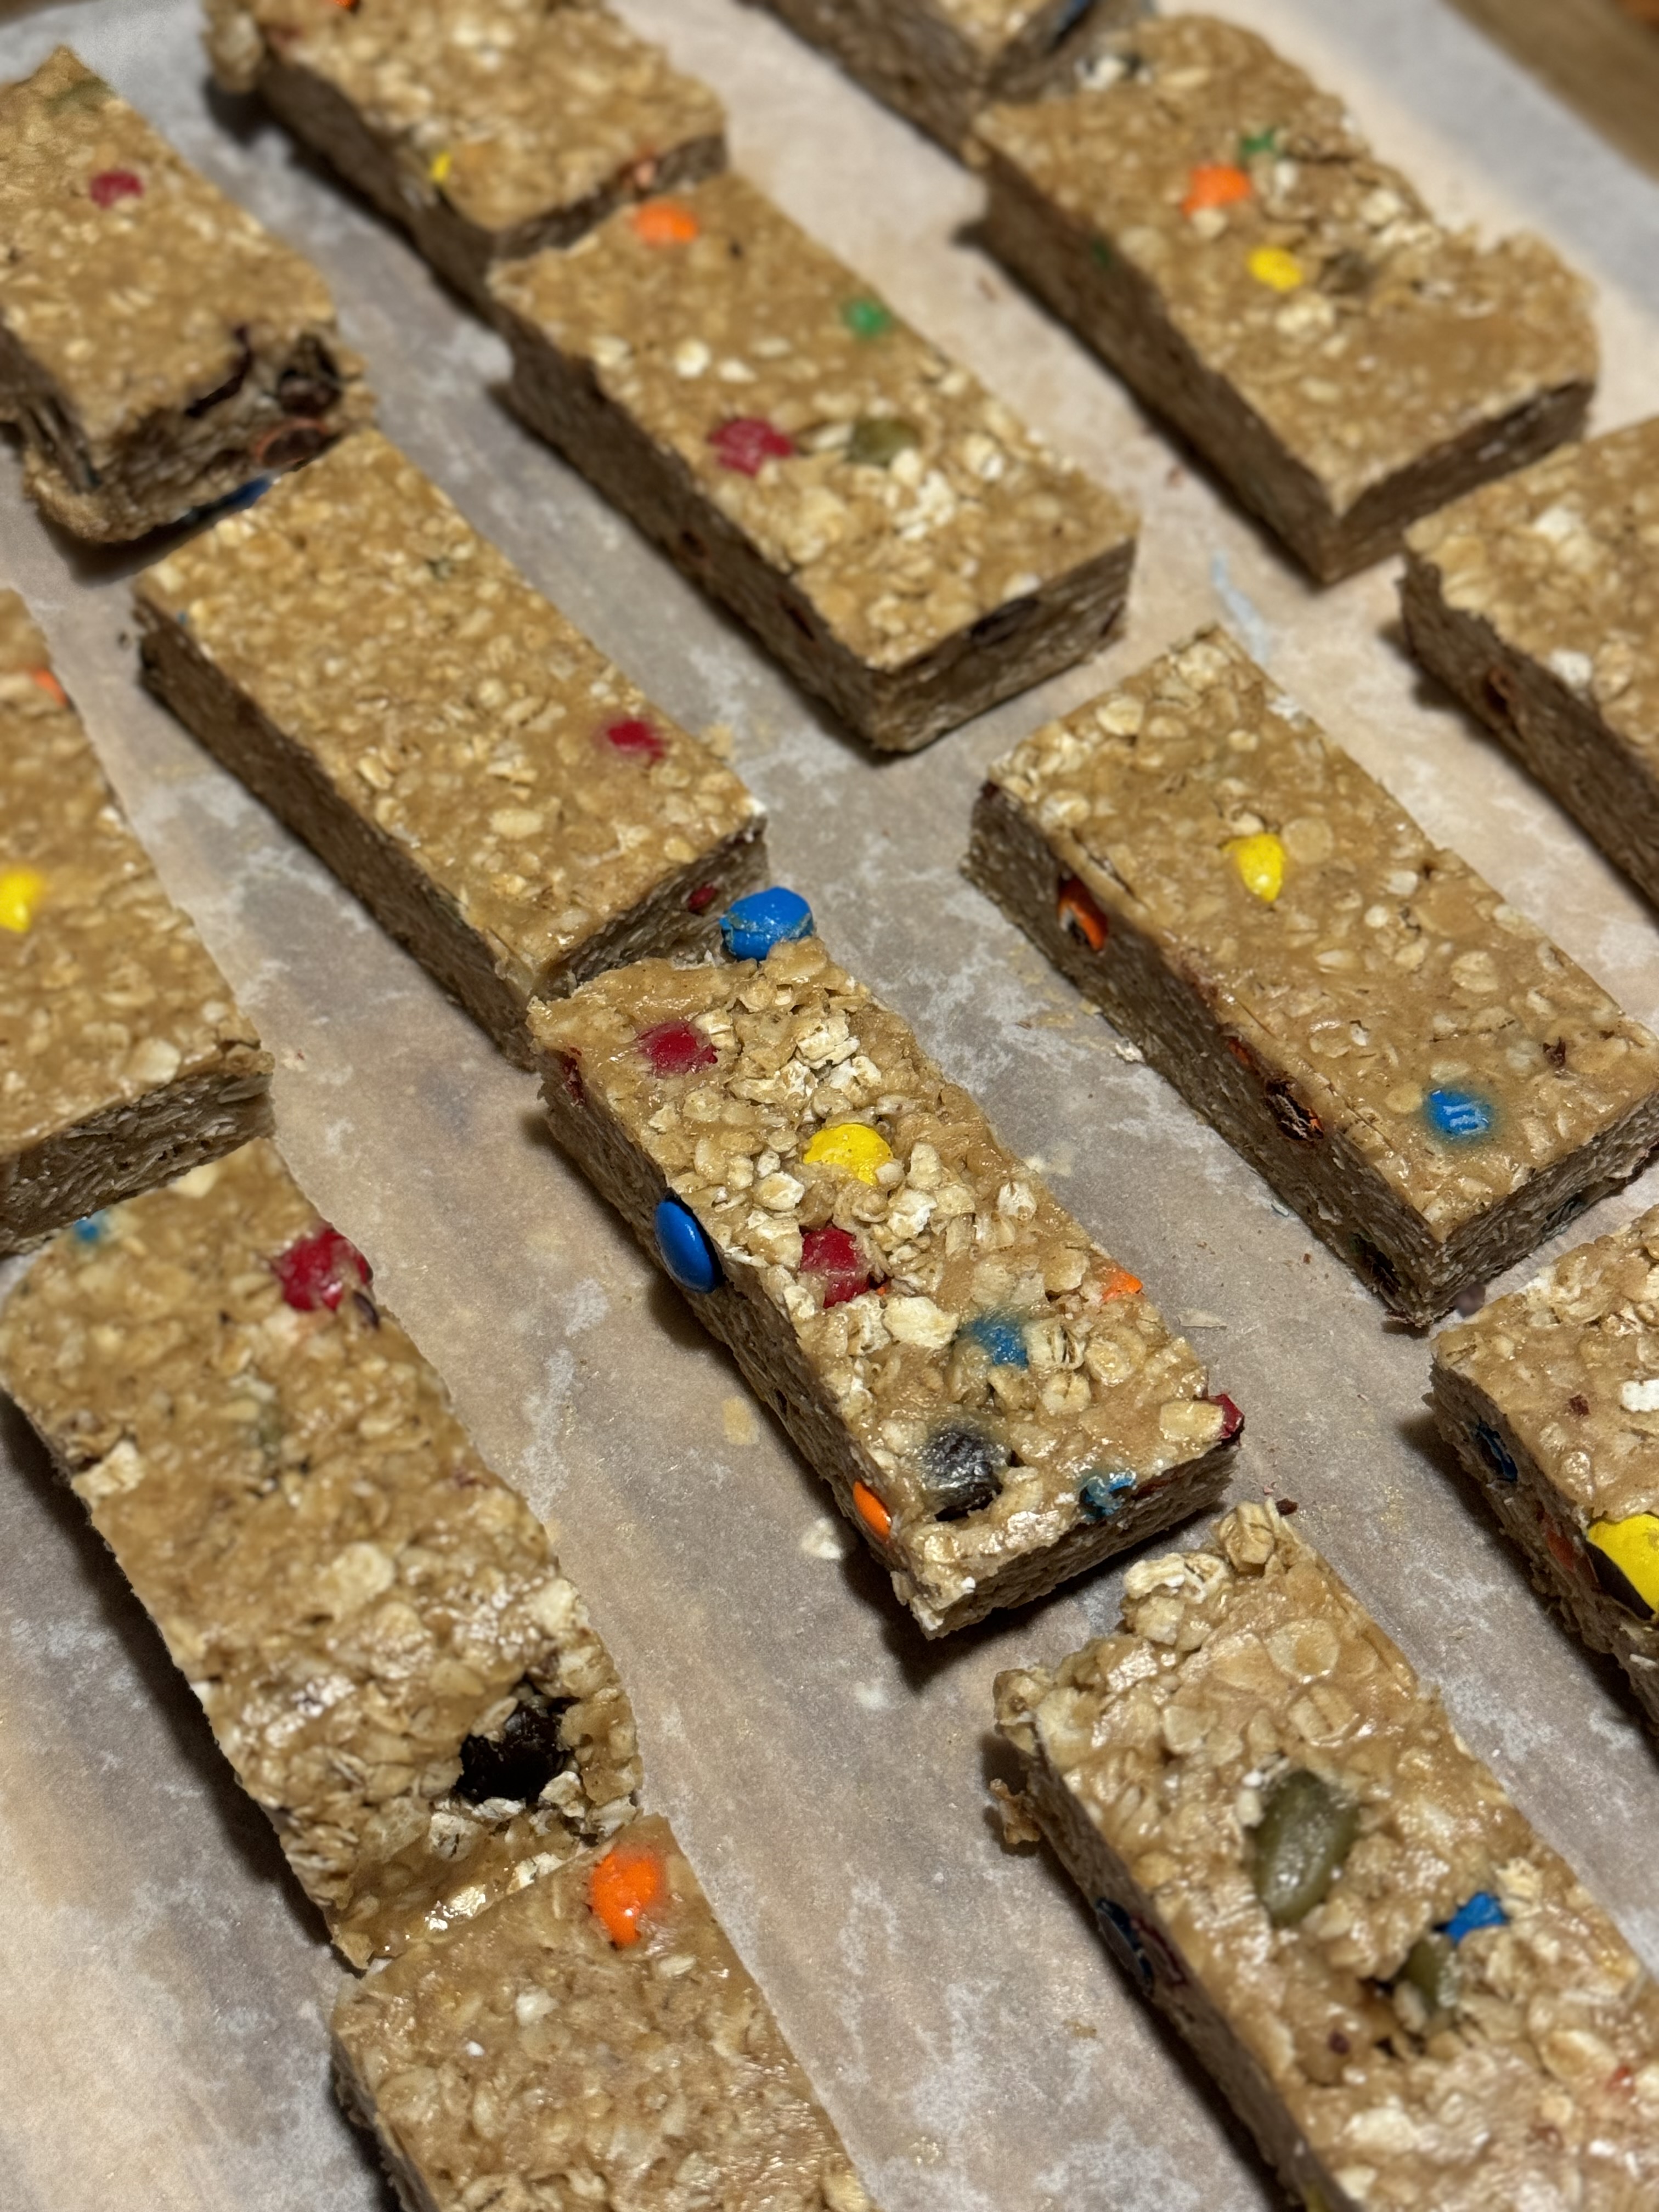

Looking for a fun, colorful snack that’s as easy to make as it is to love? These Homemade Mini M&M Granola Bars are the perfect treat! Packed with chewy oats, a touch of sweetness, and plenty of those classic candy-coated chocolate bites, they’re a hit with kids and adults alike. Whether you need a quick lunchbox addition, an after-school pick-me-up, or just a little something to brighten your day, these no-bake bars come together in no time — and taste way better than anything you’ll find in a box! So level up your snack game and give these tasty treats a try!

Kelly’s Kitchen Tip’s
1. Press firmly for the best bars:
After you spread the mixture into your pan, really press it down firmly with the back of a spoon, a spatula, or even your hands (lightly greased or covered with parchment). The more tightly you pack it, the better your bars will hold together once they set.
2. Don’t skip chilling time:
After pressing the granola mixture into the pan, pop it into the fridge for at least an hour. This helps the bars firm up and makes them way easier to slice cleanly.
3. Stir gently when adding the Mini M&Ms:
If the mixture is too warm, the M&Ms might melt and bleed their colors. Let it cool for a few minutes first, then gently fold them in to keep them looking bright and pretty.
4. Mix it up!
Not a fan of mini m&ms? Tweak this recipe to accommodate your favorite flavor combinations. If using dried fruits, nuts, or regular sized chocolate chips, be sure to chop your ingredients up finely so that they are better incorporated into your bars & they hold firm.
Looking for more delicious sweet treats? Check out these kid friendly snack recipes that are not only tasty but super easy to make with your little sous chefs!

Homemade Mini M&M Granola Bars

Equipment
- 8×8 Baking pan
- Parchment Paper
Ingredients
- 1 cup creamy natural peanut butter or cashew butter
- ⅔ cup honey
- 1 teaspoon vanilla extract
- Heaping ½ teaspoon sea salt
- 2½ cups whole rolled oats
- ⅓ cup mini chocolate chips*
- 3 tablespoons pepitas or crushed peanuts or cashews
Instructions
- Line an 8×8 square baking pan with parchment paper.
- In a large bowl, mix together the peanut butter, honey, vanilla, and salt, until smooth and thoroughly combined.
- Add the oats, mini m&m’s and the pepitas (or nuts). The mixture might appear dry at first, but keep stirring and it will come together. Stir until combined and press firmly into the pan. Use a second piece of parchment paper and the back of a measuring cup to help flatten the mixture, creating an even surface.
- Chill for at least 1 hour, then slice into bars. Store bars in the fridge in an airtight container for 1-2 weeks.
Notes
- Want to make these vegan? Swap the honey for brown rice syrup. Maple syrup can work in a pinch, but since it’s not quite as sticky, you’ll have better luck rolling the mixture into energy balls instead of pressing it into bars.
- Going gluten-free? Just be sure to grab oats that are certified gluten-free!
2 responses to “Homemade Mini M&M Granola Bars”
-
Have to try these!
-
Please do & let me know what you think!
-


Designed with WordPress

Leave a Reply